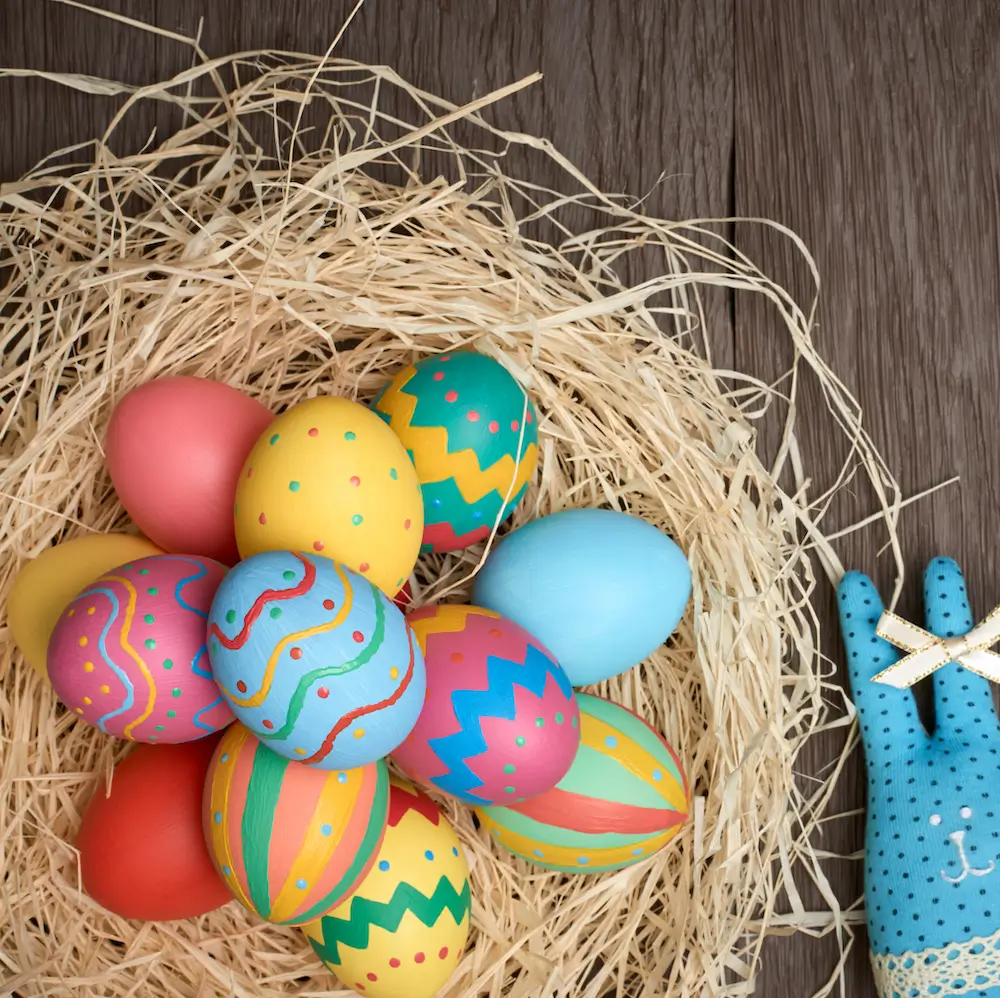
Easter is a time for family, friends, and of course, colorful eggs! If you’re looking to make your Easter egg decorating more fun this year, look no further. In this article, we explore eight unique methods to dye eggs, allowing your creativity to shine. Each technique offers a distinct approach and result, suited for both kids and adults alike.
1. White Crayon Design
Begin with a simple white crayon. Use it to draw designs, names, or initials on a white egg. The beauty of this technique lies in its subtlety: the crayon marks will remain visible once dyed. After you’ve completed your design, immerse the egg in dye for a few minutes. After drying, your intricate patterns will appear like magic!
2. Sticker Art
Nothing adds a playful touch quite like stickers. Gather some small stickers from your local office supply store and affix them to your egg in a pattern that appeals to you. Ensure they stick well to prevent dye seepage. Once your design is complete, dip the egg in dye, and when you remove it and peel off the stickers, you’ll unveil a delightful polka-dotted egg!
3. Tinfoil Crinkle Effect
For an interesting watercolor effect, wrap your egg in crinkled tinfoil. Begin by taking a sizable piece of tinfoil and crumpling it around the egg, ensuring no gaps—smooth surfaces just won’t cut it! After wrapping, submerge the egg in dye for a few minutes. Dry the egg and remove the tinfoil to reveal a stunning, textured design.
4. Multi-Colored Dabble
For a softer, more subtle look, consider using a paper towel in combination with multiple dye colors. Start by dipping the egg in blue dye until you achieve your desired hue. Next, introduce the egg to purple dye, swirling it gently. After that, return part of the egg to the blue, dab it with a paper towel for a speckled effect. It’s a simple way to create a multicolored masterpiece!
5. Painter’s Tape Ombre
Take painter’s tape and cut it into strips to create a scape design on your egg! By wrapping the tape around the egg in various sections, you can create distinct boundaries for dyeing. Start by dyeing half of the egg in blue and purple, then the other half in a vibrant pink. Once dry, remove the tape to reveal your new ombre creation.
6. Ombre Technique Using a Tool
If you want to achieve a sophisticated ombre effect, utilize the dye tool provided with your dye kit. Start by dipping the base of your egg in purple dye for a brief moment. As it colors, gradually lift the egg out while slowly submerging it deeper into the dye to create a gradient. This method allows for a beautiful smooth transition of colors.
7. Rubber Band Patterns
Rubber bands can yield unique designs on your eggs. Simply wrap them around the egg in various directions and densities. Afterwards, dip the egg in your choice of dye, allowing some time for it to absorb color. When you remove the bands, you will be left with an interesting striped pattern, perfect for Easter.
8. Flour Paste Resist
For a final, artistic touch, create a flour-water paste mixture and put it into a fine-tipped bottle. Draw abstract designs on your egg, allowing the paste to set slightly before submerging it in dye. Once dyed, wash off the paste to unveil a beautiful resist pattern that showcases your design.
With these eight exciting techniques, your Easter egg decorating will surely be a vibrant success! Experiment with colors, designs, and textures, and enjoy this cherished tradition with loved ones.
Ingredients and Instructions:
– White crayon, stickers, tinfoil, paper towel, painter’s tape, rubber bands, flour, and water.
– Various dye colors (e.g., blue, purple, pink).
Instructions vary based on the chosen technique, from drawing and wrapping to dyeing methods. Be sure to let the eggs dry thoroughly between steps for best results!
